Creating a map
Beginners
Now that you have your exe loaded up, let's start by making our own map to do all sorts of tests in.
To make a new map, go to the left side where all of the maps are.

Right-click anywhere on there and choose new.
It should show you something like this:
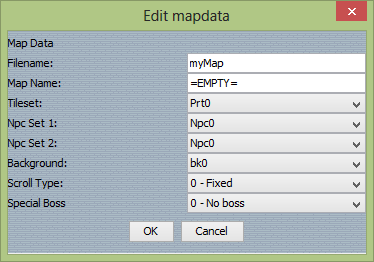
All of these options allow you to customize your own map to your liking.
I'll explain what all these things do:
Filename:
This will also be the tab name of your map when you are working on multiple maps.
Map name:
(Usually used when the player enters the map)
Tileset:
*Note, you can only use 1 tileset per map, BUT you can change the tileset whenever you want to.
Npc Set (1 & 2):
*Note, certain npcs are only affect by the Npc Set 1, others are only affected by the Npc Set 2, and some npcs are affected
by neither.
Scroll Type:
Special Boss:
*Note, some bosses like Balrog, Misery, and Curly do not show up in this list, however you CAN still use those bosses.
It is also possible to fight multiple bosses at the same time.
I'll go over on how to initiate boss fights in a later lesson.
*Go to mapdata mode if you want to edit the mapdata of a map you've already made
Now, set up the Mapdata to look like this:
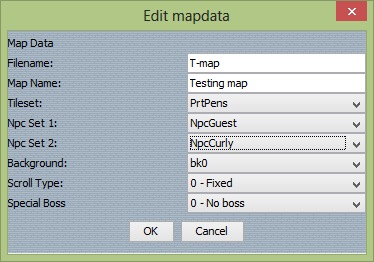
And click "OK"
Your new map will be at the bottom of the map list.
Now click on it, and you should see a map that is completly black(which means it's empty).
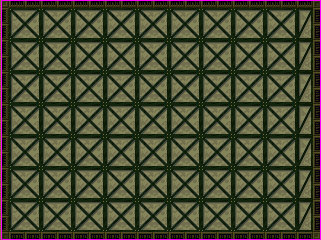
And you should see the tileset for
The little white box in the top left corner shows which tile(s) you currently have selected.
*Note, you can hold and select multiple tiles, and place them on the map.
Just click anywhere on the map to place down the tile you currently have selected.
*If you don't like where the tileset is, you can double click it to pop it out and move it somewhere else
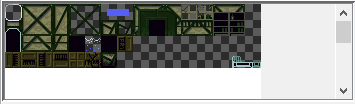
Now set up the map to look like this:
*Note, if you go to the view tab next to file, and go to map scale, you can zoom in and out on the map. Which is extremely
useful.
*Another note, if you press the delete key, you'll go into delete mode, which will let you erase tiles.
It doesn't need to look exactly like this, we just need a small empty room to start our next lesson.
But before we get to that, there's still a couple of things I need to explain about tile mode.
First off:
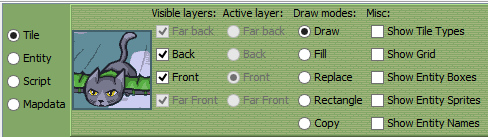
Active Layer:
Draw Modes:
Draw:
Fill:
*Note, if you have an enclosed empty space, it will only fill in the empty spots in that space.
Replace:
Rectangle:
Copy:
Misc:
Show Tyle Types:
Show Grid:
Show Entity Boxes:
Show Entity Sprites:
Show Entity Names:
Also, if you right-click in the map, it will bring a up a list of commands:
Undo and Redo:
Shift map:
Resize map:
Generate CMP:
Generate TRA:
Previous Lesson: Loading up your game
Next Lesson: Creating a map (part 2)